How to Create a Map: A Step-by-Step Guide

Creating a map is an exciting way to visualize locations, plan events, or track specific points of interest. Whether you’re making a custom map for personal use, business needs, or educational purposes, digital tools make the process simple and efficient. In this guide, we’ll walk you through the essential steps to create map, highlight its benefits, and introduce Mapme as a powerful solution for interactive mapping.
Why Create a Map?
Maps help people understand spatial relationships, navigate efficiently, and organize information visually. Whether you’re mapping hiking trails, local businesses, or historical landmarks, a custom map can enhance the way you present and share geographic data. Digital mapping tools provide interactive elements, making it easier to engage audiences and add valuable context to locations.
Step-by-Step Guide to Create a Custom Map
1. Define Your Purpose
Before you create a map, determine what you want to achieve. Are you marking event locations, showcasing business spots, or mapping travel destinations? Knowing your goal will help you decide on the type of map and necessary features.
2. Choose a Mapping Tool
Several online tools allow you to build a custom map with ease. One great option is Mapme, which offers a user-friendly interface, drag-and-drop functionality, and media integration. With Mapme, you can customize markers, import data from Google Sheets or CSV files, and embed your map on websites for easy sharing.
3. Add Locations and Customize
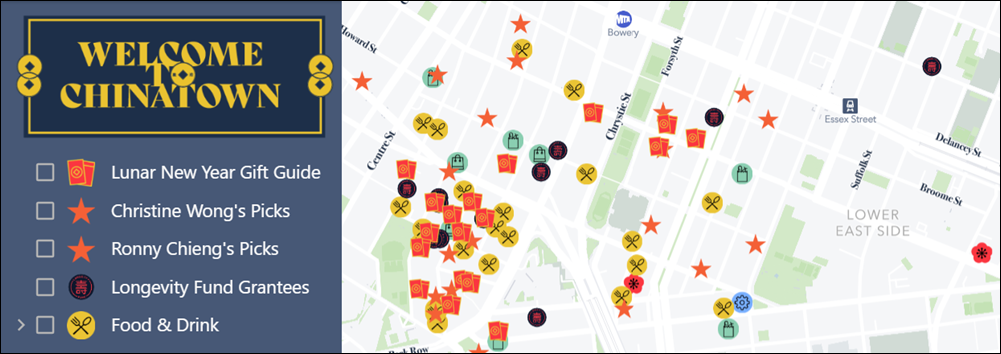
After selecting your platform, start adding locations to your custom map. Use markers, categories, and images to make it visually appealing. If you’re using Mapme, you can enhance your map with videos, PDFs, and 3D tours for an engaging experience.
4. Organize and Filter Information
A well-structured map improves usability. Mapme allows you to categorize locations and apply filters, ensuring viewers can quickly find relevant information. Whether you’re mapping restaurants, parks, or landmarks, these features help create an intuitive experience.
5. Share and Embed Your Map
Once you’ve built your map, it’s time to share it! Many platforms, including Mapme, offer embedding options to integrate maps into websites or share via social media. This makes it easy to distribute your custom map to a broader audience.
Benefits of Using a Digital Mapping Tool
- Ease of Use: Drag-and-drop interfaces simplify the mapping process.
- Customization: Add colors, markers, and styles to match your theme.
- Multimedia Integration: Upload images, videos, and documents for more interactive maps.
- Data Management: Import/export data efficiently with CSV and Google Sheets.
- Sharing & Embedding: Publish your map on websites and social media.
Conclusion
Creating a map has never been easier, thanks to digital tools that offer customization, data integration, and sharing capabilities. Whether you’re mapping for business, travel, or personal projects, platforms like Mapme provide an intuitive way to bring your vision to life. Start building your custom map today and make your locations more engaging and informative!


