Stay Cool and Collected: Your DIY Guide to Air Conditioning Installation
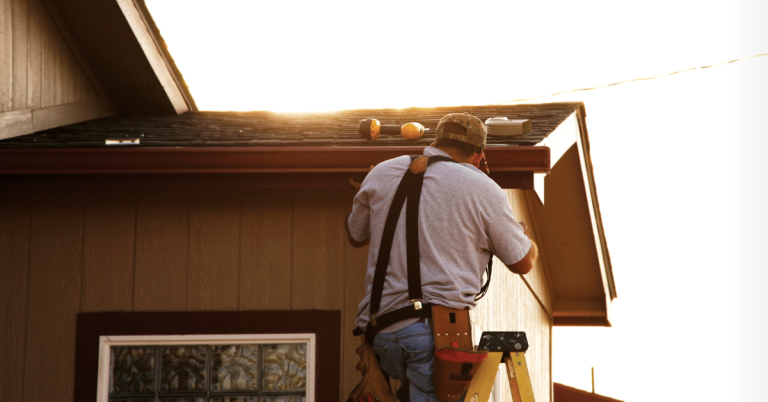
Installing your own air conditioner might seem like a job for the pros, but with the right guidance and a little know-how, it’s definitely doable. Taking the DIY route can save you money and give you the satisfaction of completing a home improvement project yourself.
So, this step-by-step guide will walk you through the entire process, from choosing the right unit to troubleshooting common issues.
Preparation is Key
Before you jump into installing your new AC unit, taking some time to prepare can save you a lot of hassle and headaches later on. This means gathering the right tools, understanding safety precautions, and making sure you have everything you need to get the job done right.
Choosing the Right AC Unit
This step might seem obvious, but it’s worth reiterating: make sure you’ve chosen the right AC unit for your space. If it’s too small, it won’t cool your home effectively.
If it’s too big, it’ll cycle on and off too often, wasting energy and shortening the unit’s lifespan. Refer to our previous section on choosing the right AC unit or consult with an HVAC professional to determine the correct size for your home.
Tools and Supplies
Gather all the tools and materials you’ll need before you start. This might include.
- Screwdrivers
- Wrenches
- Drill with appropriate bits
- Measuring tape
- Level
- Electrical wiring, conduit, and wire strippers (if needed)
- Mounting brackets and hardware
- Safety gear: gloves, goggles, and a dust mask
Safety Precautions
Safety should always be your top priority. Remember to.
- Turn off the power to the circuit breaker that controls the AC unit before you begin any work.
- If your unit uses refrigerant, handle it with care. Refrigerant can be harmful if inhaled or comes into contact with your skin. If you’re unsure about handling refrigerant, it’s best to call a professional.
- Work with a partner, especially when lifting and moving heavy components.
- Familiarize yourself with any local building codes or regulations that might apply to AC installation.
Step-by-Step Installation Guide
While we’re going to walk you through the general steps of installing an AC unit, note that the exact process can vary depending on the type of unit you have and the specific conditions of your home.
Always refer to the manufacturer’s instructions for your particular unit. If you’re unsure about any part of the process, don’t hesitate to call a professional for help.
Choosing the Location
Here’s how you can choose the right location.
Outdoor Unit
- Find a level, solid surface near your home’s exterior wall.
- Choose a spot that’s shaded as much as possible, as direct sunlight can reduce your AC’s efficiency.
- Make sure there’s enough space for airflow around the unit.
- Avoid placing it near dryer vents, gas meters, or other potential hazards.
Indoor Unit
- Choose a sturdy wall that can support the weight of the unit.
- Consider proximity to an electrical outlet.
- Make sure the unit won’t be blocked by furniture or curtains, which can restrict airflow.
Mounting the Indoor Unit
Here’s how you can mount the indoor unit.
- Mark the wall: Use a pencil to mark the spot where you’ll be mounting the unit. Follow the manufacturer’s instructions for proper placement and spacing.
- Drill holes: Using a drill with the appropriate bit, carefully drill holes for the mounting plate screws.
- Secure the plate: Attach the mounting plate to the wall using the provided screws.
- Connect electrical wiring (if applicable): This step might require some basic electrical skills. If you’re unsure, consult an electrician.
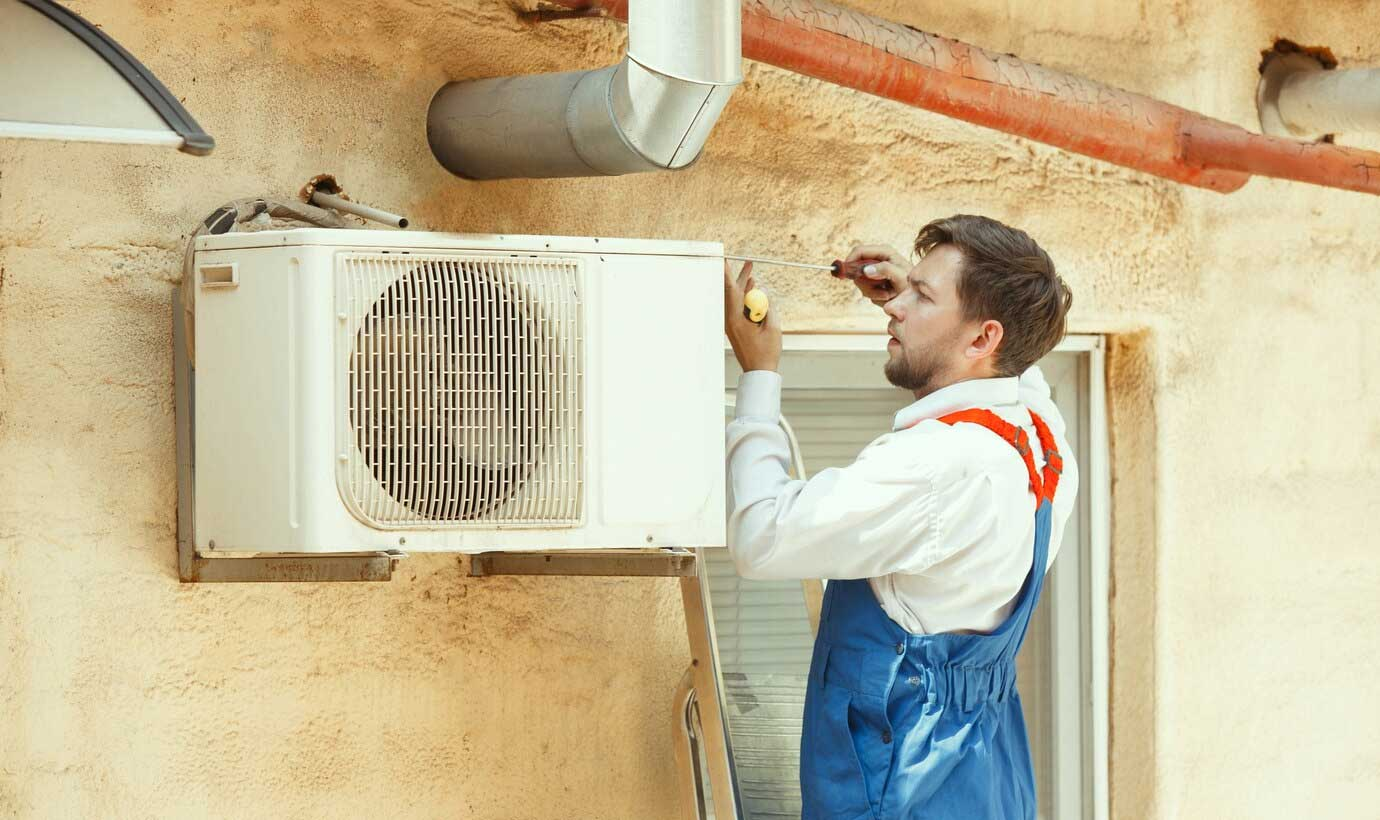
Installing the Outdoor Unit
Here’s how you can install an outdoor unit.
- Place the unit: If you’re installing a window unit, follow the manufacturer’s instructions for securing it in the window frame. For mini-split or central air units, place the outdoor unit on a concrete pad or mounting bracket.
- Level the unit: Use a level to ensure the unit is perfectly level.
- Connect electrical wiring: Again, this might require electrical knowledge, so don’t hesitate to call an electrician if needed. Make sure the wiring is properly grounded for safety.
Connecting Refrigerant Lines
This step is specific to split systems and typically requires professional expertise. If you’re not familiar with refrigerant handling, it’s best to leave this to a technician.
In general, it involves flaring the ends of the copper lines, connecting them to the indoor and outdoor units, and then releasing refrigerant into the system. The technician will also check for leaks to ensure the system is properly sealed.
Final Steps: Putting It All Together
Here’s the final step.
- Connect condensate drain: This line drains water that condenses on the evaporator coil. Make sure it’s connected properly and directed away from your house.
- Seal gaps: Use caulk or foam sealant to fill any gaps around the indoor and outdoor units to prevent air leaks.
- Turn on power and test: Switch on the circuit breaker and test your AC unit to make sure it’s cooling properly.
Congratulations! If everything went smoothly, you’ve successfully installed your new air conditioner. Remember, these are just general guidelines. Always refer to your unit’s specific instructions and don’t hesitate to call a professional if you need help.
Maintenance Tips for Longevity
Just like a car needs regular oil changes and tune-ups, your air conditioner needs some TLC to stay in good working order. By following a few simple maintenance tips, you can extend the life of your AC, prevent costly repairs, and ensure it keeps you cool for years to come.
Regular Cleaning
Think of your AC like a vacuum cleaner – it sucks in air, filters out the dust and dirt, and blows out cool air. But over time, that dust and dirt can build up on the filters and coils, making it harder for your AC to do its job.
Make it a habit to clean or replace your air filters every month or two, especially during peak cooling season. If you’re comfortable with it, you can also clean the outdoor condenser coil yourself. Just turn off the power, remove any debris, and gently rinse it with water.
Professional Checkups
While you can handle some basic maintenance tasks yourself, it’s important to have a professional HVAC technician inspect your AC system once a year. They can check for any potential problems that you might not notice, such as refrigerant leaks or worn-out parts.
Smart Thermostat Use
If you haven’t already, consider investing in a programmable or smart thermostat. These devices let you set schedules for your AC, so you’re not wasting energy cooling an empty house. Some even have features like remote access, so you can adjust the temperature from your phone.
Keep it Clear
Make sure your outdoor unit has plenty of space to breathe. Keep plants and other objects at least two feet away from the unit, and make sure the area is clear of leaves and debris. This helps ensure proper airflow, which is essential for efficient cooling.
Monitor for Problems
Keep an eye (and ear) on your AC for any signs of trouble. If you hear strange noises, notice leaks, or feel like your AC isn’t cooling as well as it should, don’t ignore it. Addressing small problems early on can often prevent them from becoming bigger, more expensive issues.
To Sum it Up
Installing your own air conditioner is a rewarding project that can save you money and give you a sense of accomplishment. Remember, while this guide offers a solid overview, each installation is unique.
Don’t hesitate to consult your specific AC unit’s manual and seek professional help if you encounter challenges. With the right knowledge and a bit of elbow grease, you’ll be enjoying the cool comfort of your new AC in no time.
So go ahead, grab your tools, and get ready to beat the heat!